

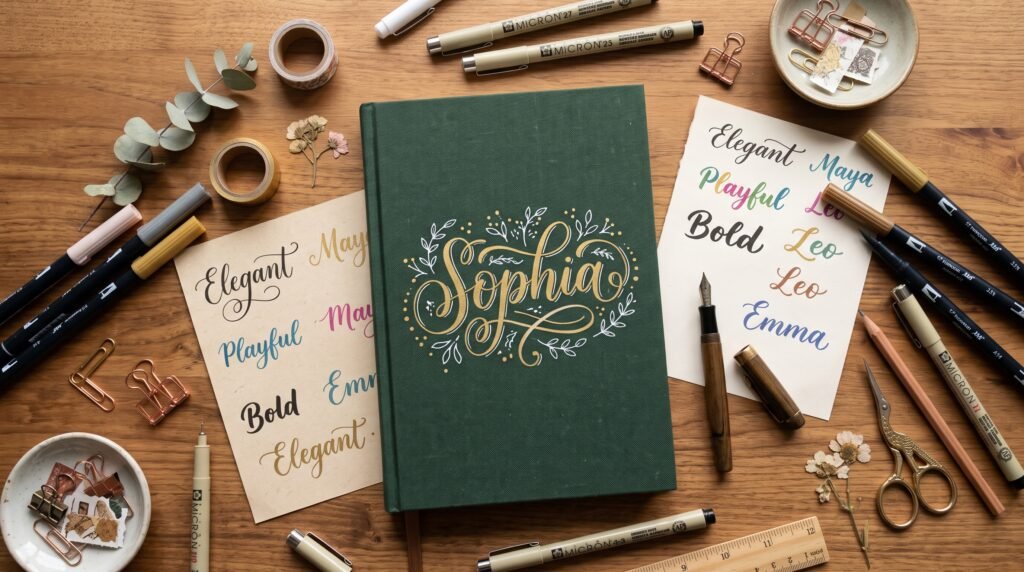
Your notebook is one of the few things you carry every single day, so it makes sense to give it some personality. Writing your name on the cover is the simplest way to claim it as yours, and it also keeps a classmate or coworker from accidentally walking off with it. But a name scribbled in a hurry looks messy. A name written with a little care can turn a plain cover into something you are proud to show.
The good news is you don’t need expensive tools or artistic training. With a pencil, a ruler, and a few minutes, almost anyone can learn to write a clean, attractive name label. In this guide, you will learn how to prepare your cover, follow a simple step-by-step method, try different lettering styles, and add small decorations that make your notebook look unique. Whether you are a student, a teacher, or an adult who loves stationery, these ideas will work for you.
Why Your Name on a Notebook Matters
A name on a notebook is more than a label. It is practical, and it is also a small piece of self-expression.
First, it protects your belongings. Notebooks look similar, especially when a whole class buys the same brand. A clear name makes returning a lost notebook easy.
Second, it builds good habits. Students who take care of how their notebooks look often take more care of what is inside them. Neat handwriting on the cover tends to carry over into neat notes.
Third, it is a creative outlet. Lettering is a small art form, and a notebook cover is the perfect blank canvas to practice it. If you enjoy the craft, you can read more about the history of decorative writing in this overview of calligraphy.
What You Need Before You Start
You do not need much, but the right tools make a visible difference.
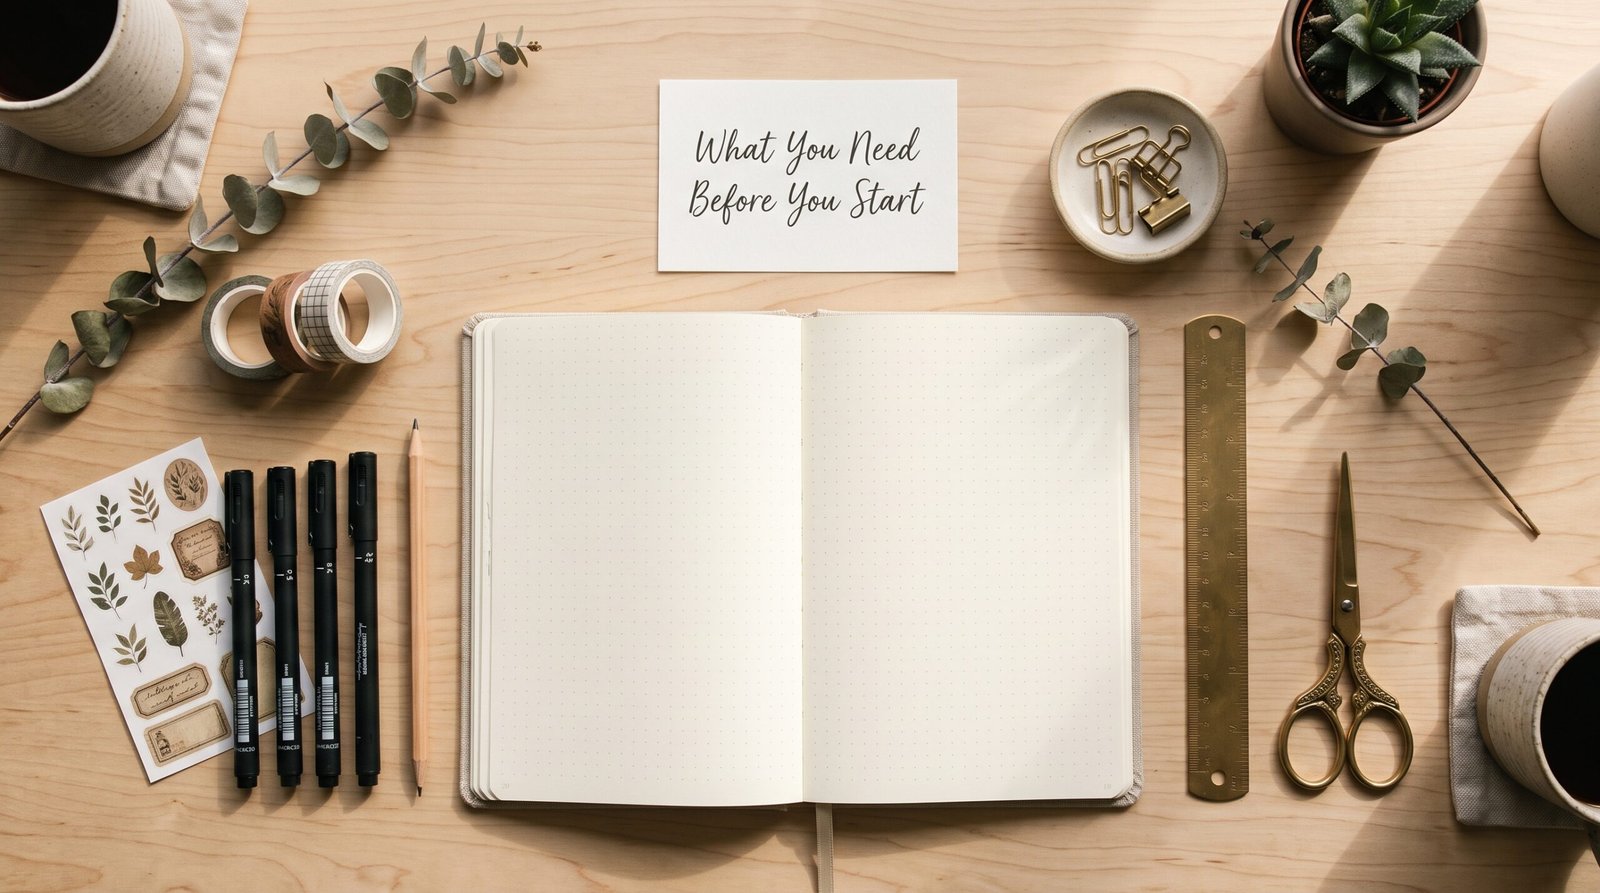
Basic supplies:
- A sharp pencil (HB or 2B works well) for the first draft
- A good eraser that does not smudge
- A ruler for straight guidelines
- A black fineliner or gel pen for the final outline
- Colored pens, markers, or pencils if you want to decorate
Optional supplies:
- A white gel pen for highlights on dark covers
- A metallic marker for a shiny finish
- Washi tape or stickers for borders
- A clear cover or laminated sticker to protect the finished design
Before you begin, wipe the notebook cover with a dry cloth. Dust or oil from your fingers can make ink skip. If the cover is glossy, test your pen in a small corner first, because some markers do not dry well on slick surfaces.
Step-by-Step: How to Write Your Name Neatly
Follow this simple method and your result will look tidy every time.
Step 1: Decide Where the Name Will Go
Most people write in the label box if the cover has one. If it does not, choose the center or the lower right corner. Keep the placement the same on all your notebooks so they look like a matching set.
Step 2: Draw Light Guidelines
Use your ruler and pencil to draw two faint horizontal lines. The space between them is the height of your letters. If your name has letters that go below the line, such as g, j, p, or y, add a third line underneath for those tails.
Step 3: Mark the Spacing
Lightly mark where each letter will start. This stops you from running out of space at the end of a long name, which is one of the most common problems.
Step 4: Sketch the Letters in Pencil
Write your name lightly inside the guidelines. Do not press hard. If a letter looks wrong, erase it and try again. Pencil gives you the freedom to fix mistakes before they become permanent.
Step 5: Go Over It With Ink
Once you are happy with the shape, trace over the pencil with a fineliner. Work from left to right, and let the ink dry before moving on so you do not smear it.
Step 6: Erase the Guidelines
Wait a full minute after inking, then gently erase the pencil marks. This is the step that makes your lettering look professional.
Simple Name Styles for Beginners
Choosing a style is the fun part. Here are five styles that look great and are easy to learn.
Block Letters
Block letters are clean, straight, and bold. Each letter is made of simple lines, and every letter is about the same height. This is the best style for beginners and for anyone who wants a neat, school-friendly look.
Bubble Letters
Bubble letters are rounded and puffy, as if they were inflated. Draw each letter in a thin outline first, then thicken the strokes so the inside is hollow. You can color the inside with a marker. This style is popular with younger students.
Cursive
Cursive has joined, flowing letters that look elegant. It takes a little practice, but the result is graceful. If you want to understand how this joined style developed, see this page about cursive handwriting.
Shadow Letters
Write your name in any simple style, then add a shadow on one side of every letter. Keep the shadow on the same side throughout (for example, bottom right) so the effect looks consistent. This makes plain letters appear three-dimensional.
Outline and Fill
Draw big, simple letters, outline them in black, and fill them with one or two colors. Stripes, dots, or a gradient make this style stand out.
Creative Ideas to Decorate Your Name
Once you can write your name neatly, you can start to decorate it. Pick one idea at a time so the cover does not become crowded.
Add a simple border. A thin rectangle or rounded frame around your name instantly looks polished.
Use a color theme. Choose two or three colors that match your mood or subject. Blue and white feel calm, while red and black feel bold.
Draw small icons. A tiny star, leaf, book, or moon near your name adds charm. Keep the icons small so the name remains the focus.
Try a gradient. Blend two colored pencils or markers from light to dark across the letters.
Make a subject label. Write your name on top and the subject below in a smaller size. This helps you sort notebooks quickly.
Use washi tape. Stick a strip of patterned tape under or beside your name for a neat, no-drawing decoration.
Add a quote. A short motivational line in small letters under your name makes the notebook feel personal.
Quick Comparison of Name Styles
| Style | Difficulty | Best For | Time Needed |
|---|---|---|---|
| Block letters | Easy | Neat school labels | 3–5 minutes |
| Bubble letters | Easy | Colorful, fun covers | 5–8 minutes |
| Cursive | Medium | Elegant, formal look | 5–10 minutes |
| Shadow letters | Medium | Bold, standout titles | 8–10 minutes |
| Outline and fill | Medium | Decorative covers | 10–15 minutes |
Tips for Short Names and Long Names
Not every name fits the cover the same way, so adjust your approach.
If You Have a Short Name
A short name has plenty of space, so you can make the letters large and add decoration around them. Bubble or shadow styles work especially well because they fill the space nicely.
If You Have a Long Name
Long names need planning. Reduce the letter height slightly, or write the first name above the surname in two lines. Mark your spacing in advance, as mentioned in the steps above, so every letter fits. Block letters are a smart choice because they stay readable even when small.
If You Have a Double Name
Treat each word as its own unit. Leave a clear gap between them, or stack them in two lines with the first name slightly larger.
Common Mistakes to Avoid
Even careful writers make a few predictable errors. Watch out for these.
- Pressing too hard with the pencil. Heavy lines leave marks even after erasing.
- Skipping the guidelines. Without them, letters drift up and down.
- Using too many colors. Three colors at most usually looks best.
- Inking before the pencil draft is correct. Ink cannot be undone, so check the spelling and shape first.
- Smudging wet ink. Rest your hand on a spare sheet of paper while you work.
- Choosing a pen that is too thick. A very wide tip fills in the small gaps inside letters like a, e, and o.
How to Practice Before Writing on the Cover
If you are nervous about ruining a new notebook, practice first. Take a spare page, copy your name in each style, and compare the results. Choose the one that looks best to you. Spend a few minutes each day practicing individual letters, especially the ones that are hardest in your name. Within a week, your lettering will become smoother and more confident.
Handwriting improves with steady repetition. For a deeper look at how handwriting is taught and why consistent practice matters, you can browse this general article on handwriting.
Frequently Asked Questions
What is the easiest way to write a name on a notebook?
The easiest way is to use block letters. Draw two light guidelines with a pencil, write the name in simple straight letters, trace it with a fineliner, and erase the pencil marks.
Which pen is best for writing on a notebook cover?
A fineliner or gel pen gives the cleanest result on most covers. For glossy covers, use a permanent marker so the ink does not rub off.
How can I make my name look stylish without drawing skills?
Choose a simple style such as shadow letters or outline and fill. Both rely on basic shapes, not artistic talent, and they look impressive with very little effort.
How do I keep the ink from smudging?
Let each section dry before you touch it, rest your hand on a scrap sheet of paper, and avoid pressing a closed notebook against a wet cover.
Can I write my name on a notebook in another language?
Yes. The same method of guidelines, pencil drafts, and inked outlines works for any script. Only the letter shapes change, so slow down and plan the spacing.
How do I protect the name after I finish?
Cover the label with clear tape or a transparent adhesive sheet. This protects the ink from rubbing, water, and everyday wear.
Conclusion
Writing your name on a notebook is a small task, but doing it well makes a big difference. A clear label keeps your notebook safe, and a thoughtful design makes it enjoyable to use. Start with guidelines and a pencil draft, choose a style that suits you, and decorate with simple touches such as borders, colors,s and small icons. Practice a few times before working on the final cover, and do not worry about perfection, because every attempt improves your skill.
